
Setting up Multi-Factor Authentication for Gravity Dashboard
Here are the steps to set up multi-factor authentication (MFA) for your Gravity Dashboard account:
Step 1: If you attempt to login to Gravity Dashboard and have not enabled multi-factor authentication, you will be redirected and prompted to do so.
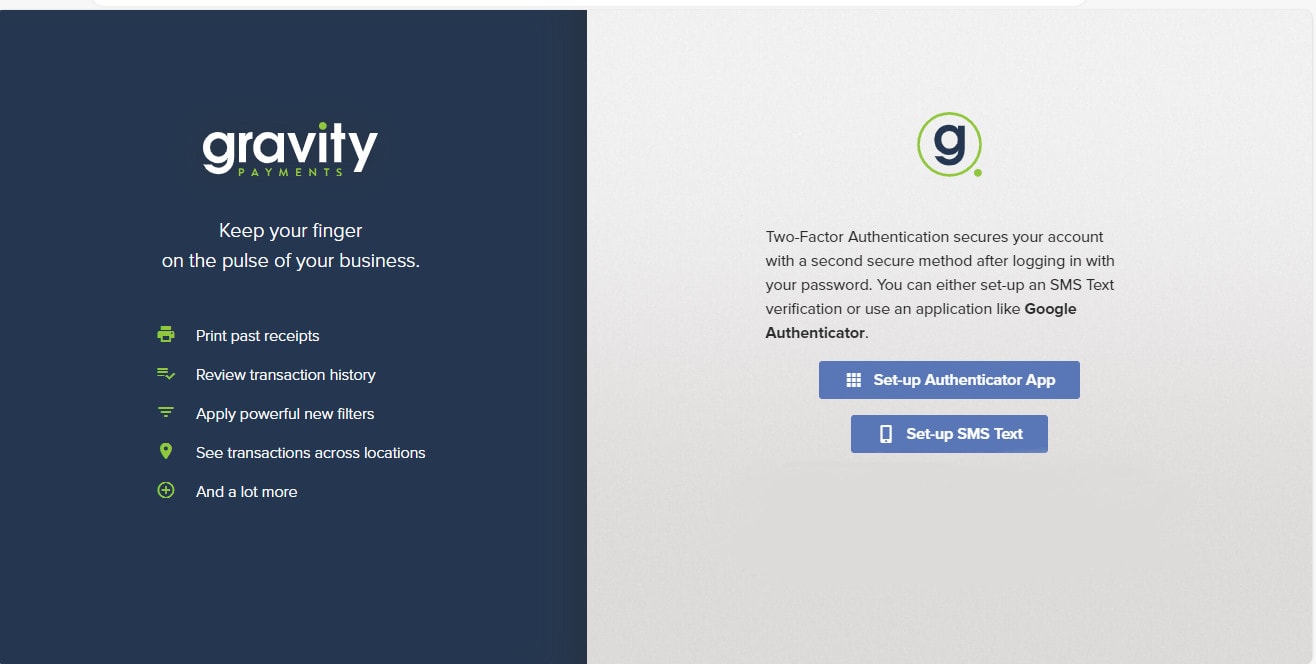
Step 2: If the Authentication App is selected, you will be prompted to download Google Authenticator which will generate a unique code every 30 seconds that they will then use to login.

Step 3: If you select Text Message, you will be taken to a screen to provide the number that the unique code will be sent to.
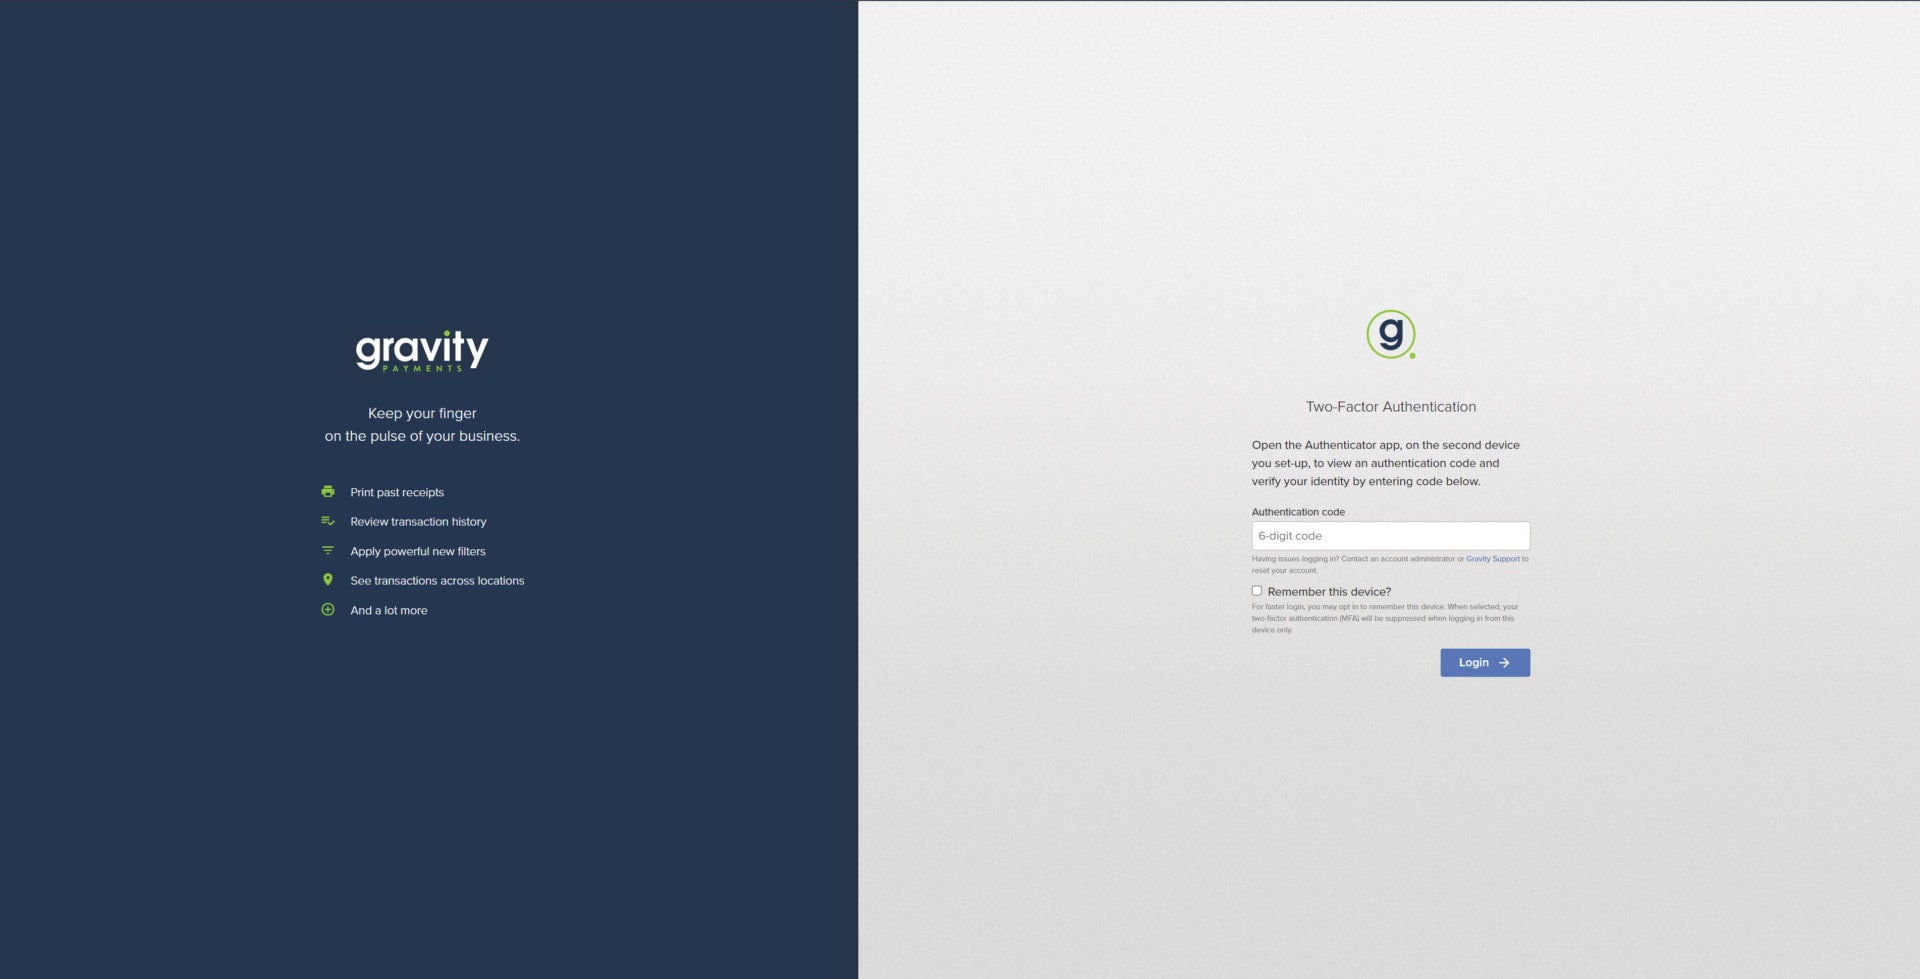
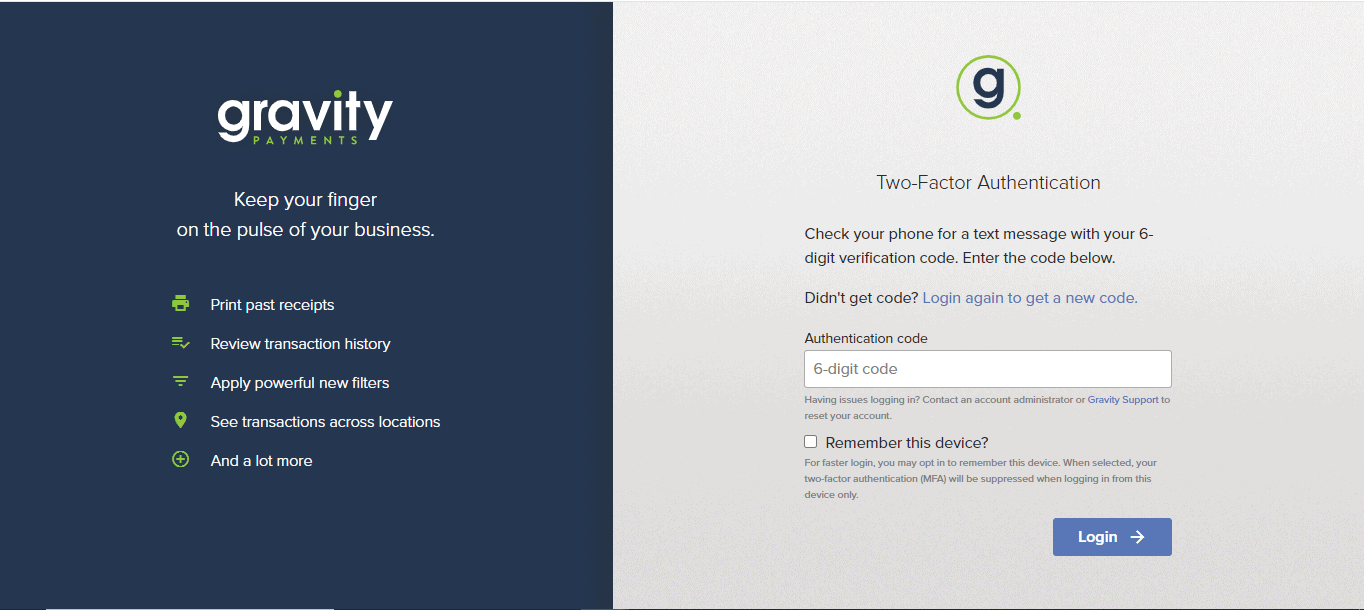
Step 4: Once the user has selected the method in which they will receive MFA, the user will be taken to the MFA login.
If you need to remove your former Gravity Dashboard code from the Google Authenticator app, follow the below steps:
- Open Google Authenticator and Delete the original code
- For Android
- Tap and hold on the Code
- Select the trash can icon in the upper right corner
- For iOS
- Swipe right on the code
- A delete option will appear, select it
- For Android
- If signed into Dashboard, sign out
- Open a new Tab or Window in your browser and login to Dashboard
- You’ll be prompted to set up MFA again, follow these steps.
Have any questions? Feel free to reach out to our support team via email at [email protected] or via phone (866) 701-4700, option 1.