

1. Create unique user access for every employee!
One of the first apps you will want to get familiar with on your Clover POS system is the Employees app. This will allow you to tailor the access given to each employee, view reports for each user, and give remote access to employees via the Clover Dashboard, and mobile app. When you open the app, you will see 3 tabs: Employees, Roles, and Permission.

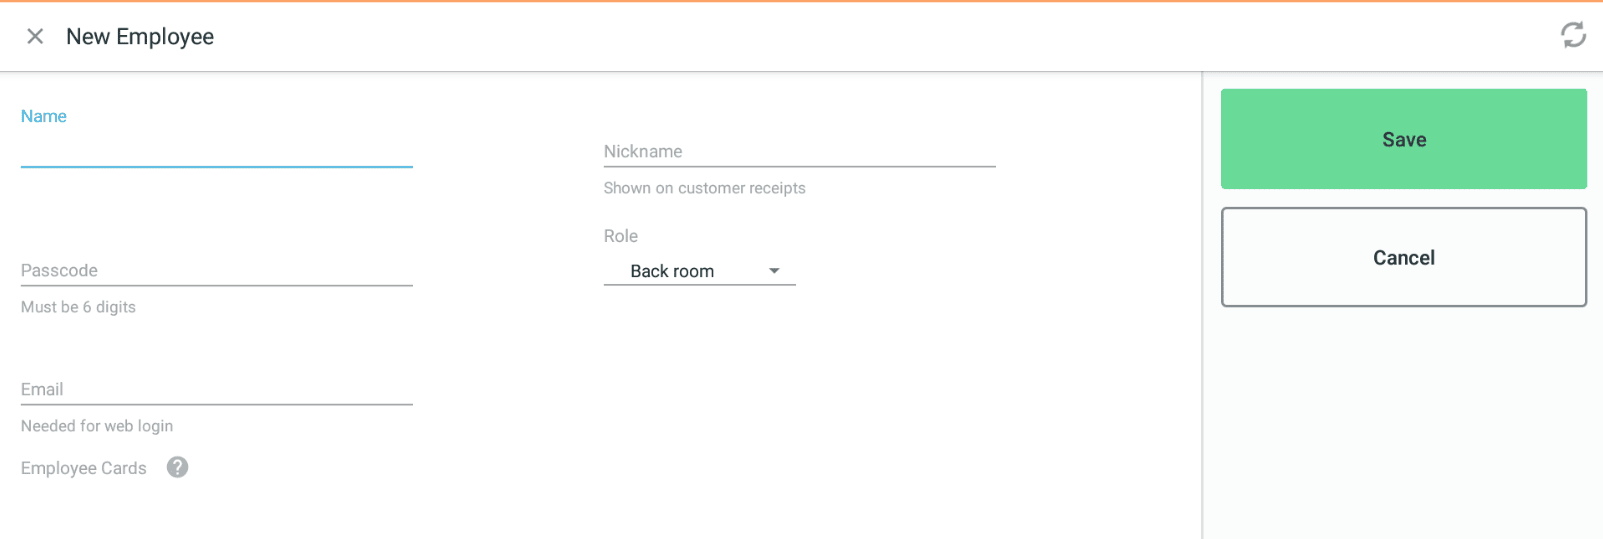
Employees
Employees is a tab that will allow you to add user access for an individual employee. When adding an employee, 3 of the fields are required for creation. These fields are the Name, Passcode (4 digit or 6 digit pin number) and the Role you want to assign to that employee. Their email is an optional field, but if you would like the employee to have access to the web dashboard or they are needing to use the Clover GO card reader for mobile transactions, you will need to put in an email address, as that is how they will receive the credentials for those systems. The Clover GO app can be downloaded to any iOS or Android smartphone or tablet.
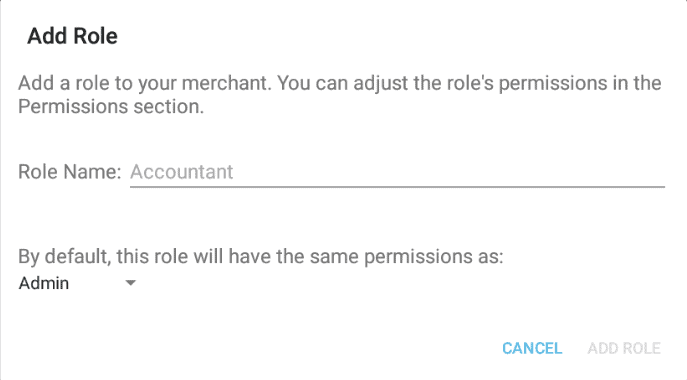
Roles
Roles are assigned to the employee when creating or editing the employee. There are three roles set up by default, but these can be modified to suit your needs. Keep in mind, you can create additional roles if needed. Owner/Admins will have access to every app and feature of the Clover POS. Managers are set to have access to most day to day features but are restricted from making certain settings changes on the Clover POS. Lastly, the role of Employee is mostly limited to ringing up customers and processing payments. Restricted features such as the Refund app, will need a manager or admin.
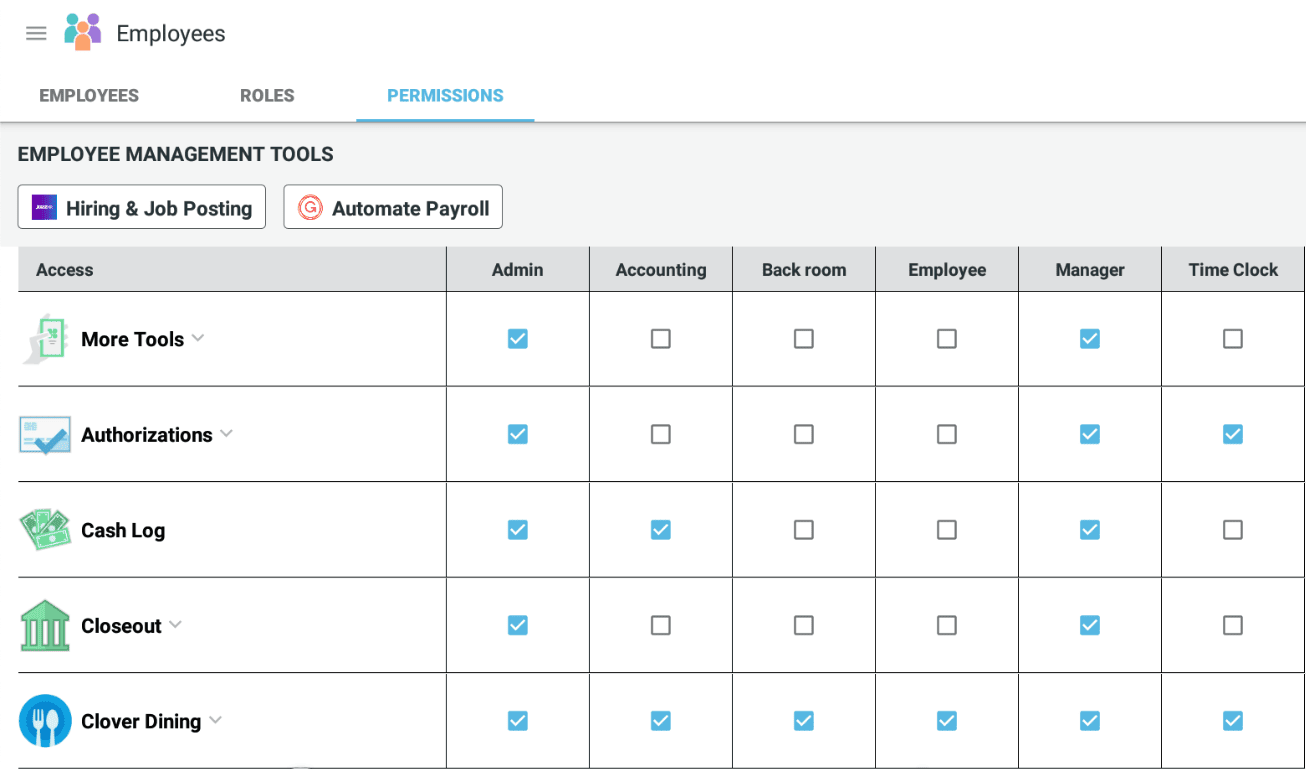
Permissions
Permissions is where you can control the access level of an employee. Notice that each permission is an app on the home screen. If an employee does not have the app checked for their role, they will simply not see that application. By clicking the drop down for the app permissions, you will be given the option to allow that role the ability to access certain features within that app while restricting others.
Just want to get started processing payments as quickly and simply as possible? Go to setup within the Employees app select “Allow unlocking your Clover devices without a Passcode (as “Employee”). This will create a “Quick Access” button that will allow anyone to log in with Employee level permissions.
2. Customize your very own menu/inventory with ease!
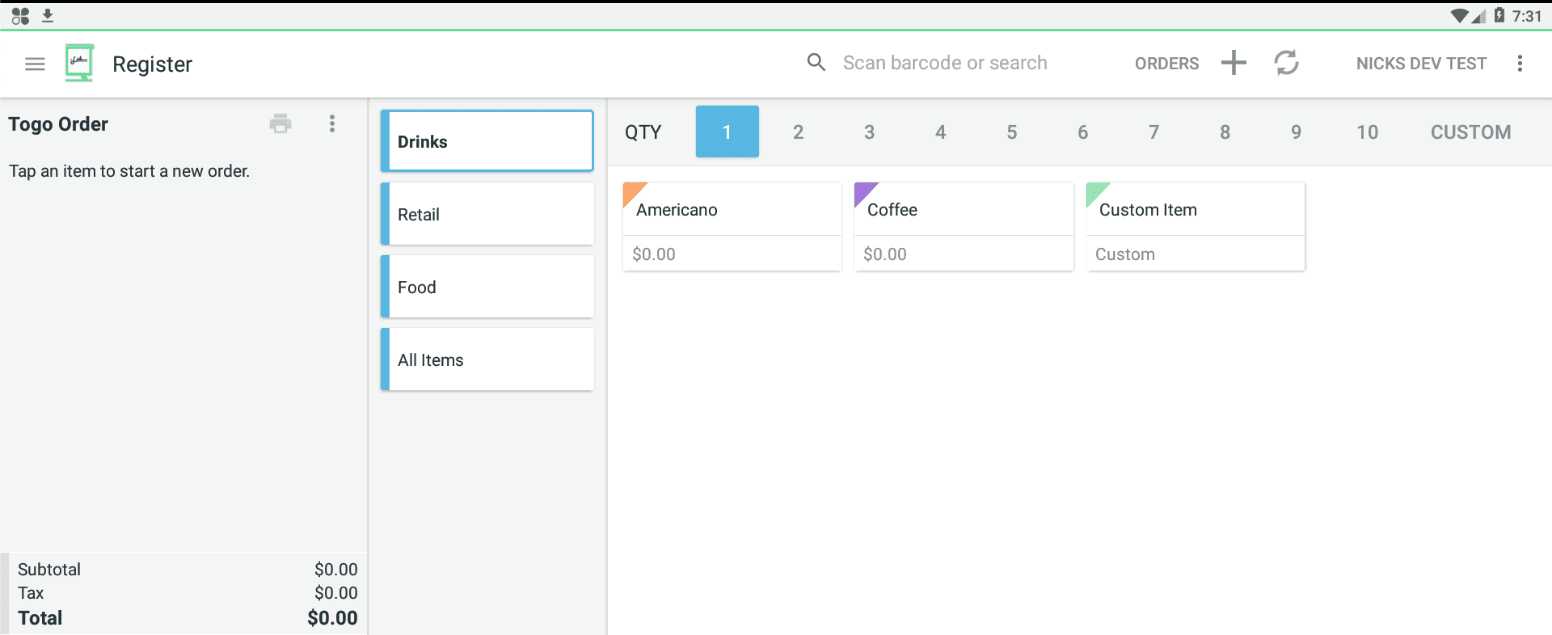
With the versatile and intuitive Inventory Application, Clover POS maintains itself as the no-brainer point of sale solution for small businesses and large. Whether you’re running a food truck serving fish n chips or an auto repair shop servicing local vehicles, the Inventory App will allow you to provide itemized orders for your staff as well as detailed receipts for your customers. Clover’s inventory management system keeps things simple, so your staff can navigate the Register App fluently and efficiently.
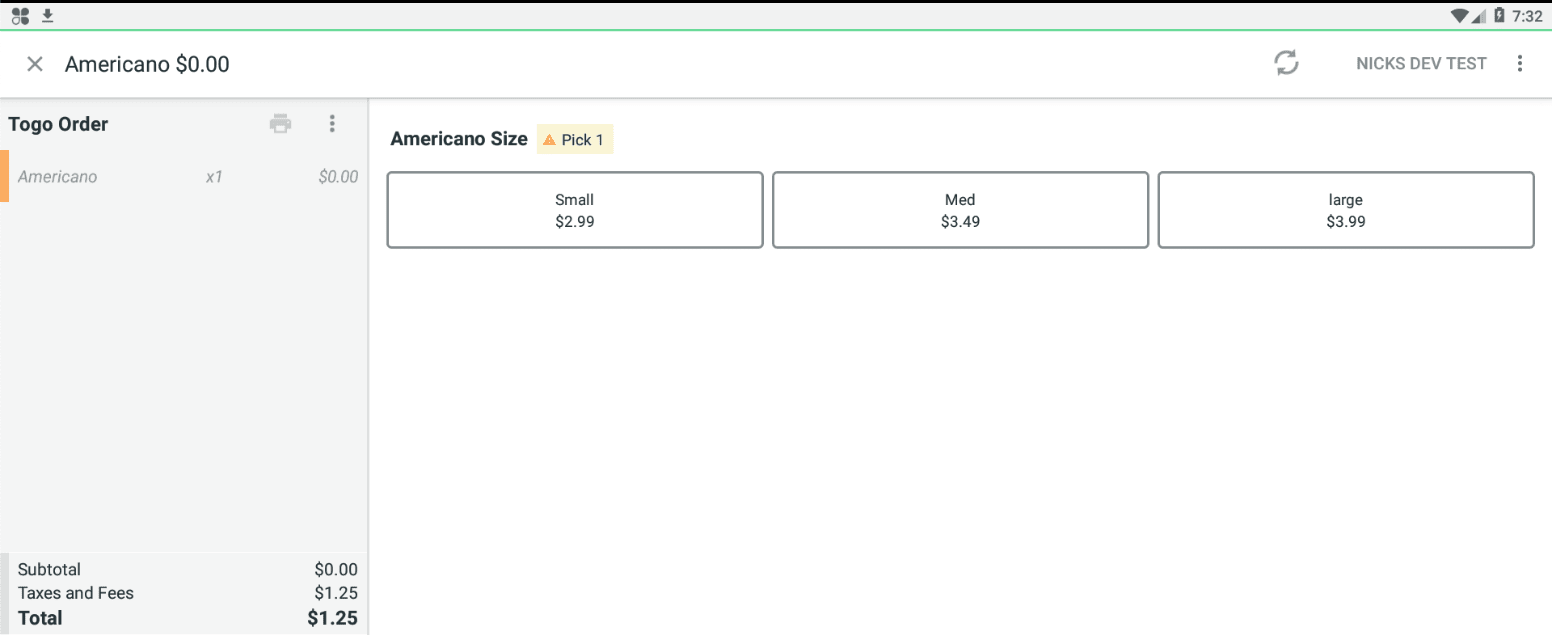
Organize your items by category (entree, appetizer, shirts, shoes, you name it!), as well as assign modifiers for things like add-ons, up-sales, size variations and more.
If a particular modifier has an increased cost, Clover can be set to add that cost automatically.
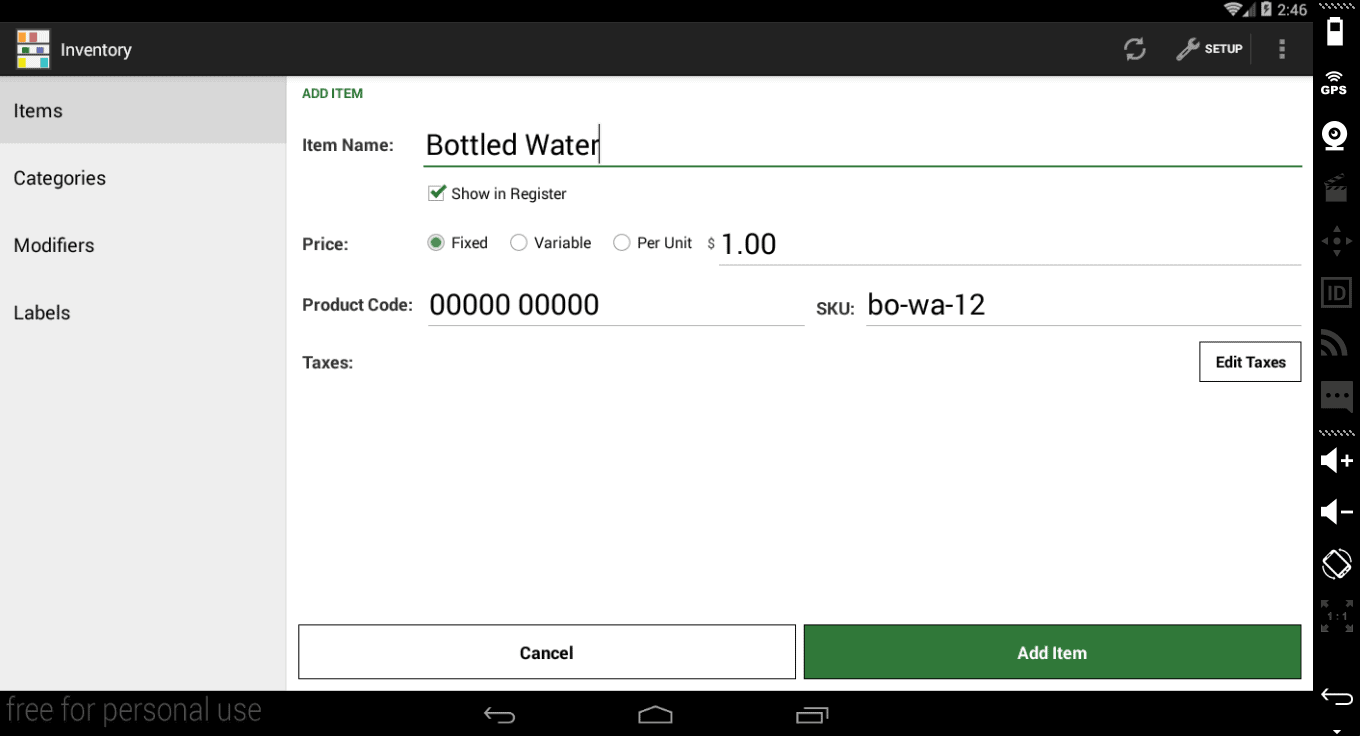
If you’d like to use a barcode scanner to ring up your customers, simply add the SKU to the item. You will then be able to scan that bar code with the Register app open to ring up that item.
By creating and assigning Labels for your items, you can set up your order printer to only print the items you specify within the Printers App.
At Gravity Payments, we realize sometimes building out menus is a daunting task, but do not fear, our excellent support teams are happy to walk you through the process when the time comes, you’ll be able to adjust your Inventory on the fly like a pro!
3. Take your business online!
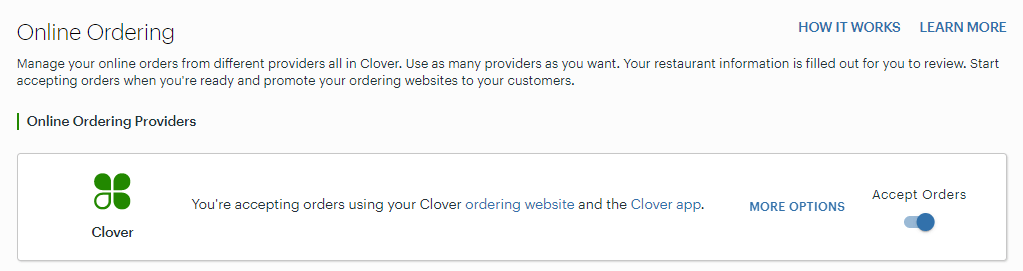
Clover POS has made it easier than ever before to set up an online store for your business! At no additional cost, you can migrate everything from your Inventory App into an online store within minutes. This will help you stay COVID-friendly, while also decreasing the wait time for your customer. All you need to do is log into your Clover web dashboard, go to Account & Setup, then select Online Ordering and click Get Started.

Clover will begin transferring your Inventory to your online store. While you’re waiting, you can set up your online store hours, and your estimated food preparation time. You’ll also be able to choose the defaulted device that online orders will print to. This can be one of your Clover devices or your order printer. From the Online Ordering tab, you can also edit how your business information is displayed on your ordering site.
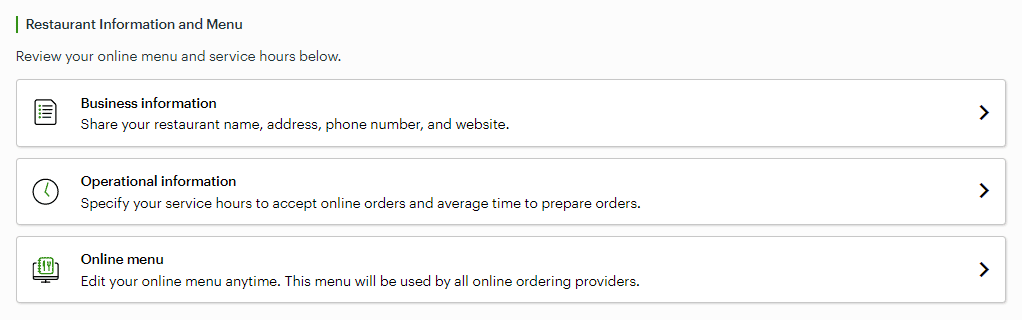
Once Clover has your Menu online, you’ll want to look it over by clicking the Online Menu button. This will allow you to edit the online menu without changing the menu in your Clover Inventory App. Some of the most common adjustments to the online menu include:
- Removing abbreviations to any menu items
- Adding a description to the item for online customers
- Eliminating items and/or modifiers that you don’t want in your online store specifically
- Ensuring all items are assigned to a category
- Remove any variably priced items
- Remove any restricted items such as alcohol and/or retail
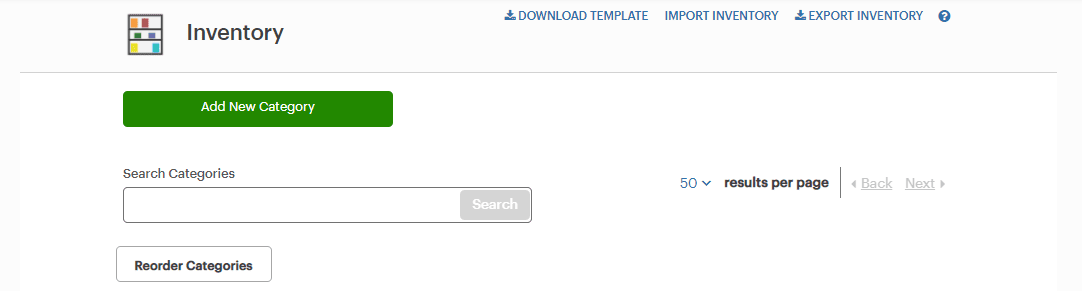
After you have edited the items for your online store, you can reorganize the order your categories appear on the site from your web dashboard by selecting the Inventory tab, then Categories. You’ll see a “Reorder Categories” button. From here, simply drag and drop the categories in the desired order.
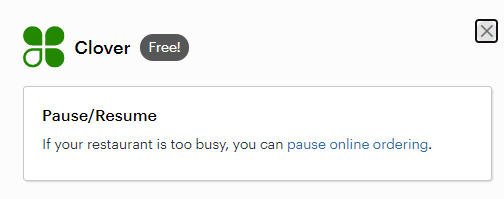
At times, online ordering can get a little overwhelming for your business during peak hours. Clover Online Ordering has an easy to use Accept Orders toggle that will allow you to quickly turn off the online store. If you are just wanting to pause the online store for a set period of time, you can click More Options and select Pause Online Ordering to set how long you would like to pause the online store for (up to 2 hours).
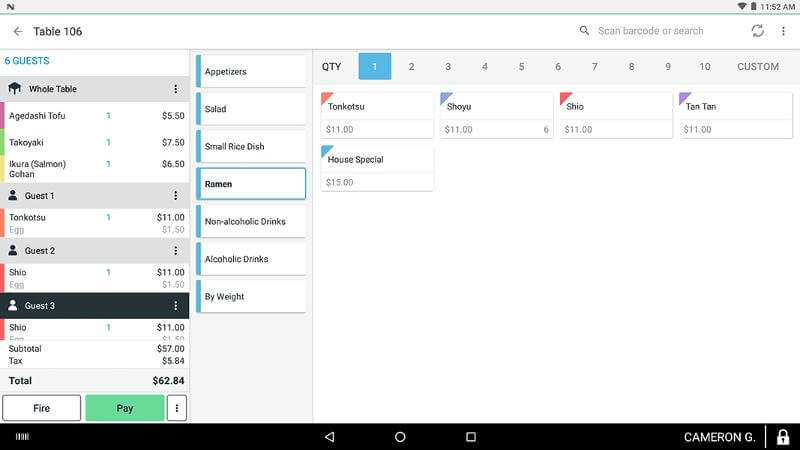
4. Open tabs, track orders and split the bill easily from a customized floor plan!
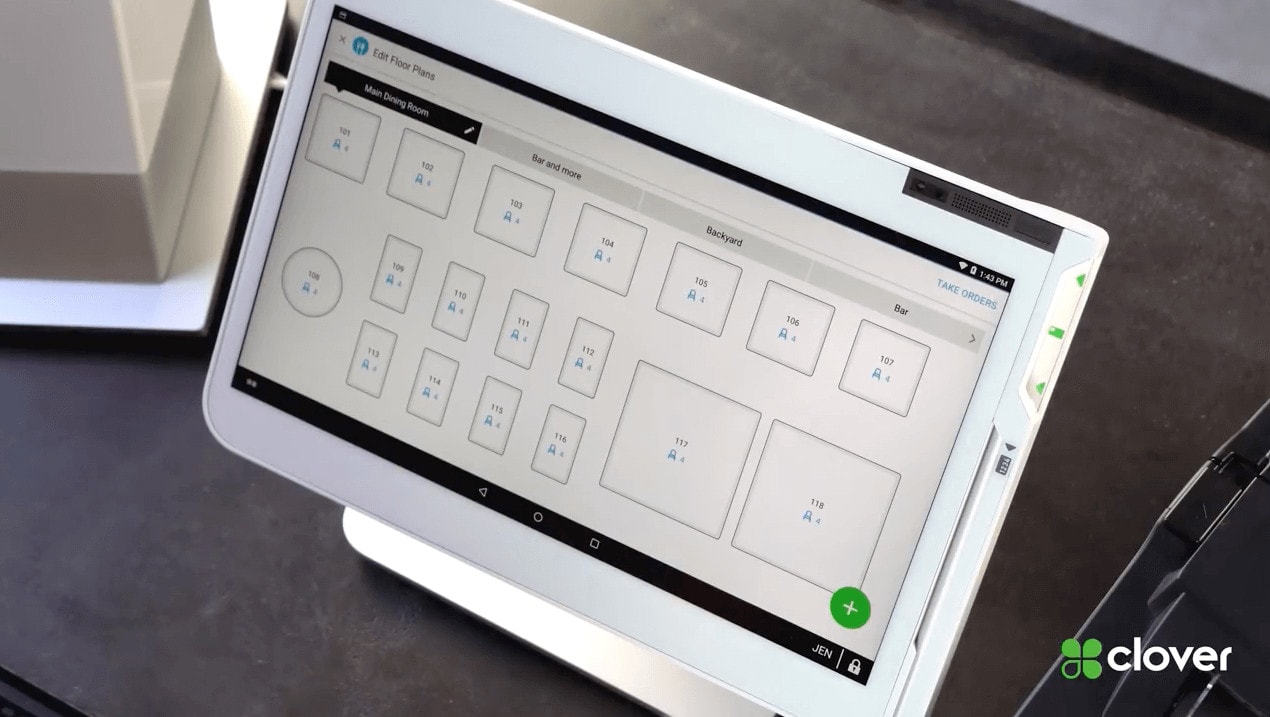
By upgrading to the Table Service Restaurant plan, your Clover POS will allow you to access the Clover Dining App. Using the Clover Dining App, you can create and edit a holistic view of your restaurant. This creates a visualization of your floor plan so employees and easily select the table they want to create an order for. By inputting the amount of guests you have at each table, your staff will be able to keep track of each item ordered, and which guest ordered it. This makes splitting up orders a breeze when it comes time to pay the bill!
Clover Dining also makes it easy to input orders for customers who are starting a bar tab or ordering food to go! From the Bar & Tabs section within the app (which you can rename if you’d like), staff will be able to create orders on the fly, even when the customer doesn’t have a table. This section will organize open orders by order creation time or alphabetically by order note, or customer name. You can change the order of each tab by selecting the “Sorted By” option in the top left corner. Keep in mind, customer names are pulled from the credit card, so you will need to run a pre-authorization if you’d like to use this feature.
5. Send order receipts to the kitchen or warehouse, print sticky labels and more!
Clover POS system has 3 different types of printers that you can utilize for your business. When opening the Printers App, you will see an option for receipt printer, order printer, or label printer. Each serves a specific purpose.
Receipt Printer
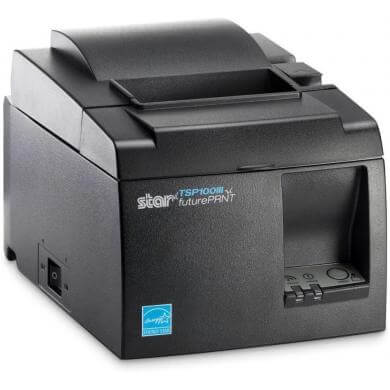
Receipt Printer will default to the printer that is either connected to your Clover Station, or the printer that is built into your Mini or Flex. You cannot send receipts to the printer on a different Clover device. Receipts will print automatically from the device used to accept the payment. You can, however, reprint the receipt from the Transactions app on any of the Clover devices on your account and if you have a Star Micronics TSP143III, you will be able to print a receipt to the external printer as well. Typically, the built in printer is all you will need.
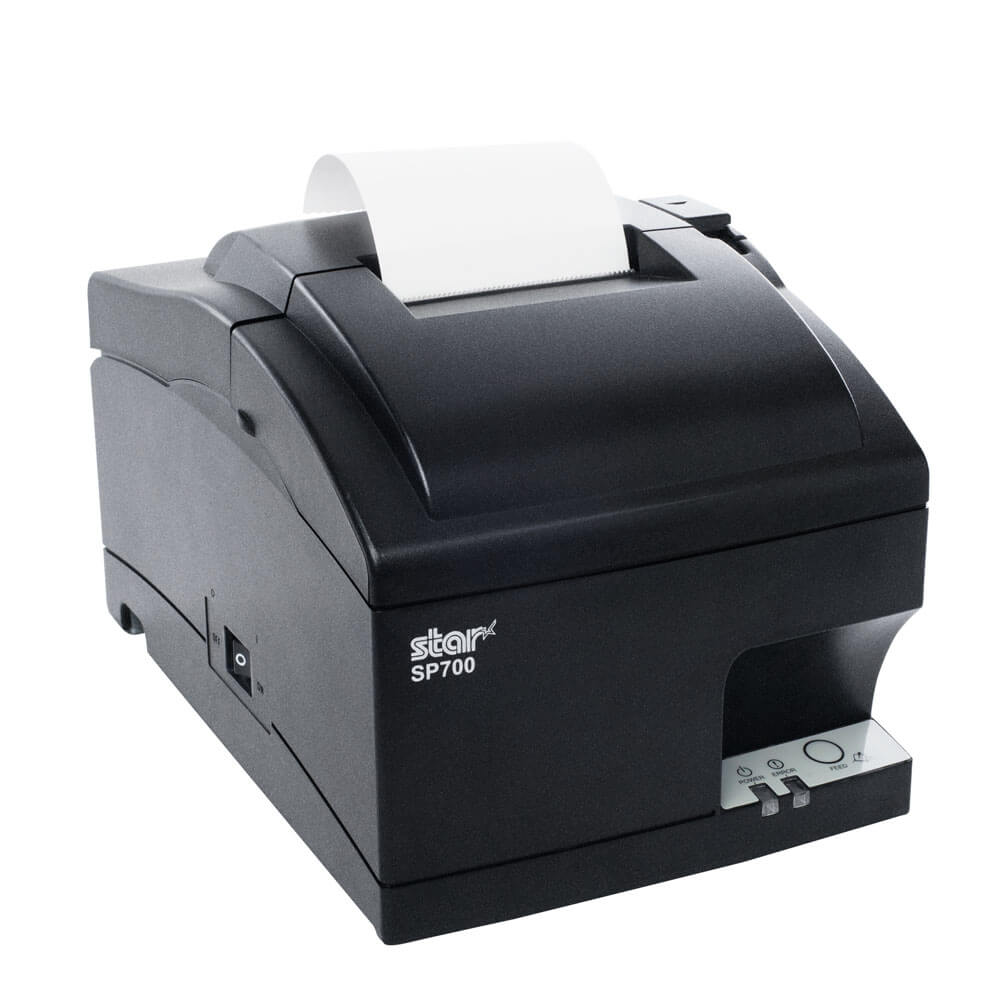
Order Printer
Order Printer is often referred to as a kitchen printer and is typically used when you want to fire an order to another staff member who might be behind a bar, in the kitchen or in a warehouse. Currently, the only order printer supported by your Clover POS system is the Star Micronics SP742ML and it will need to be on the same network that your Clover equipment is connected to. The Star printer uses an ink ribbon since a thermal printer in a hot kitchen can lead to illegible order receipts. As long as you’ve created labels for your inventory items, you will also be able to select which items you’d like to print at specific printers. I know what you’re thinking, and yes, you can set up multiple printers!
Label Printer
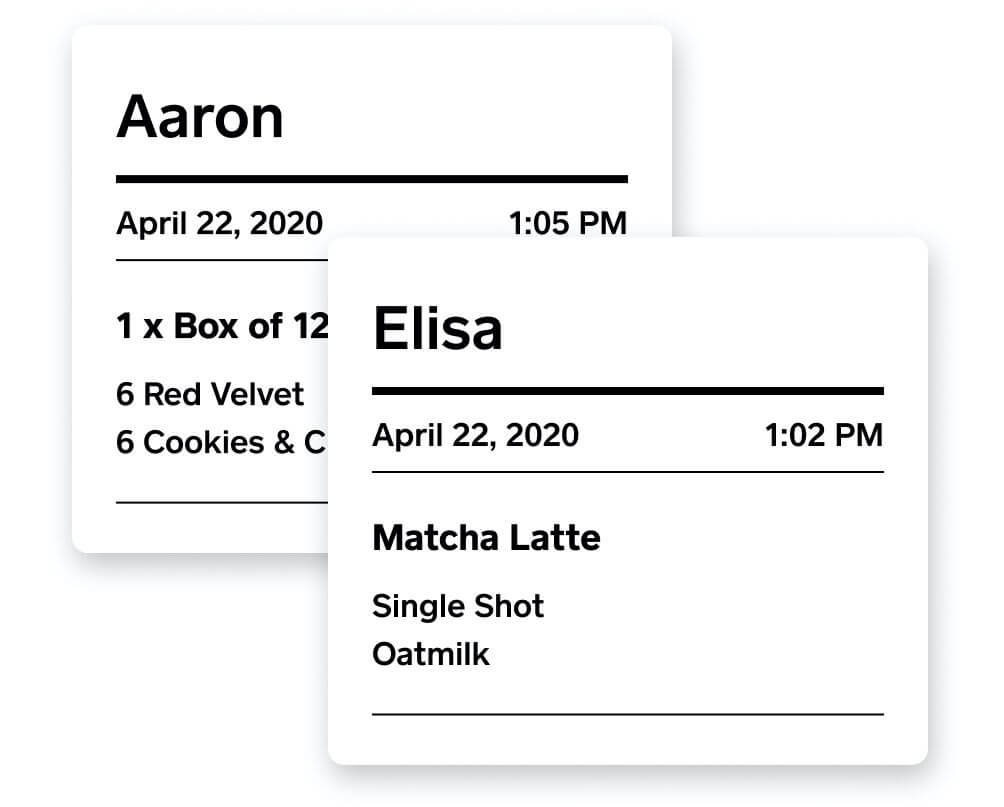
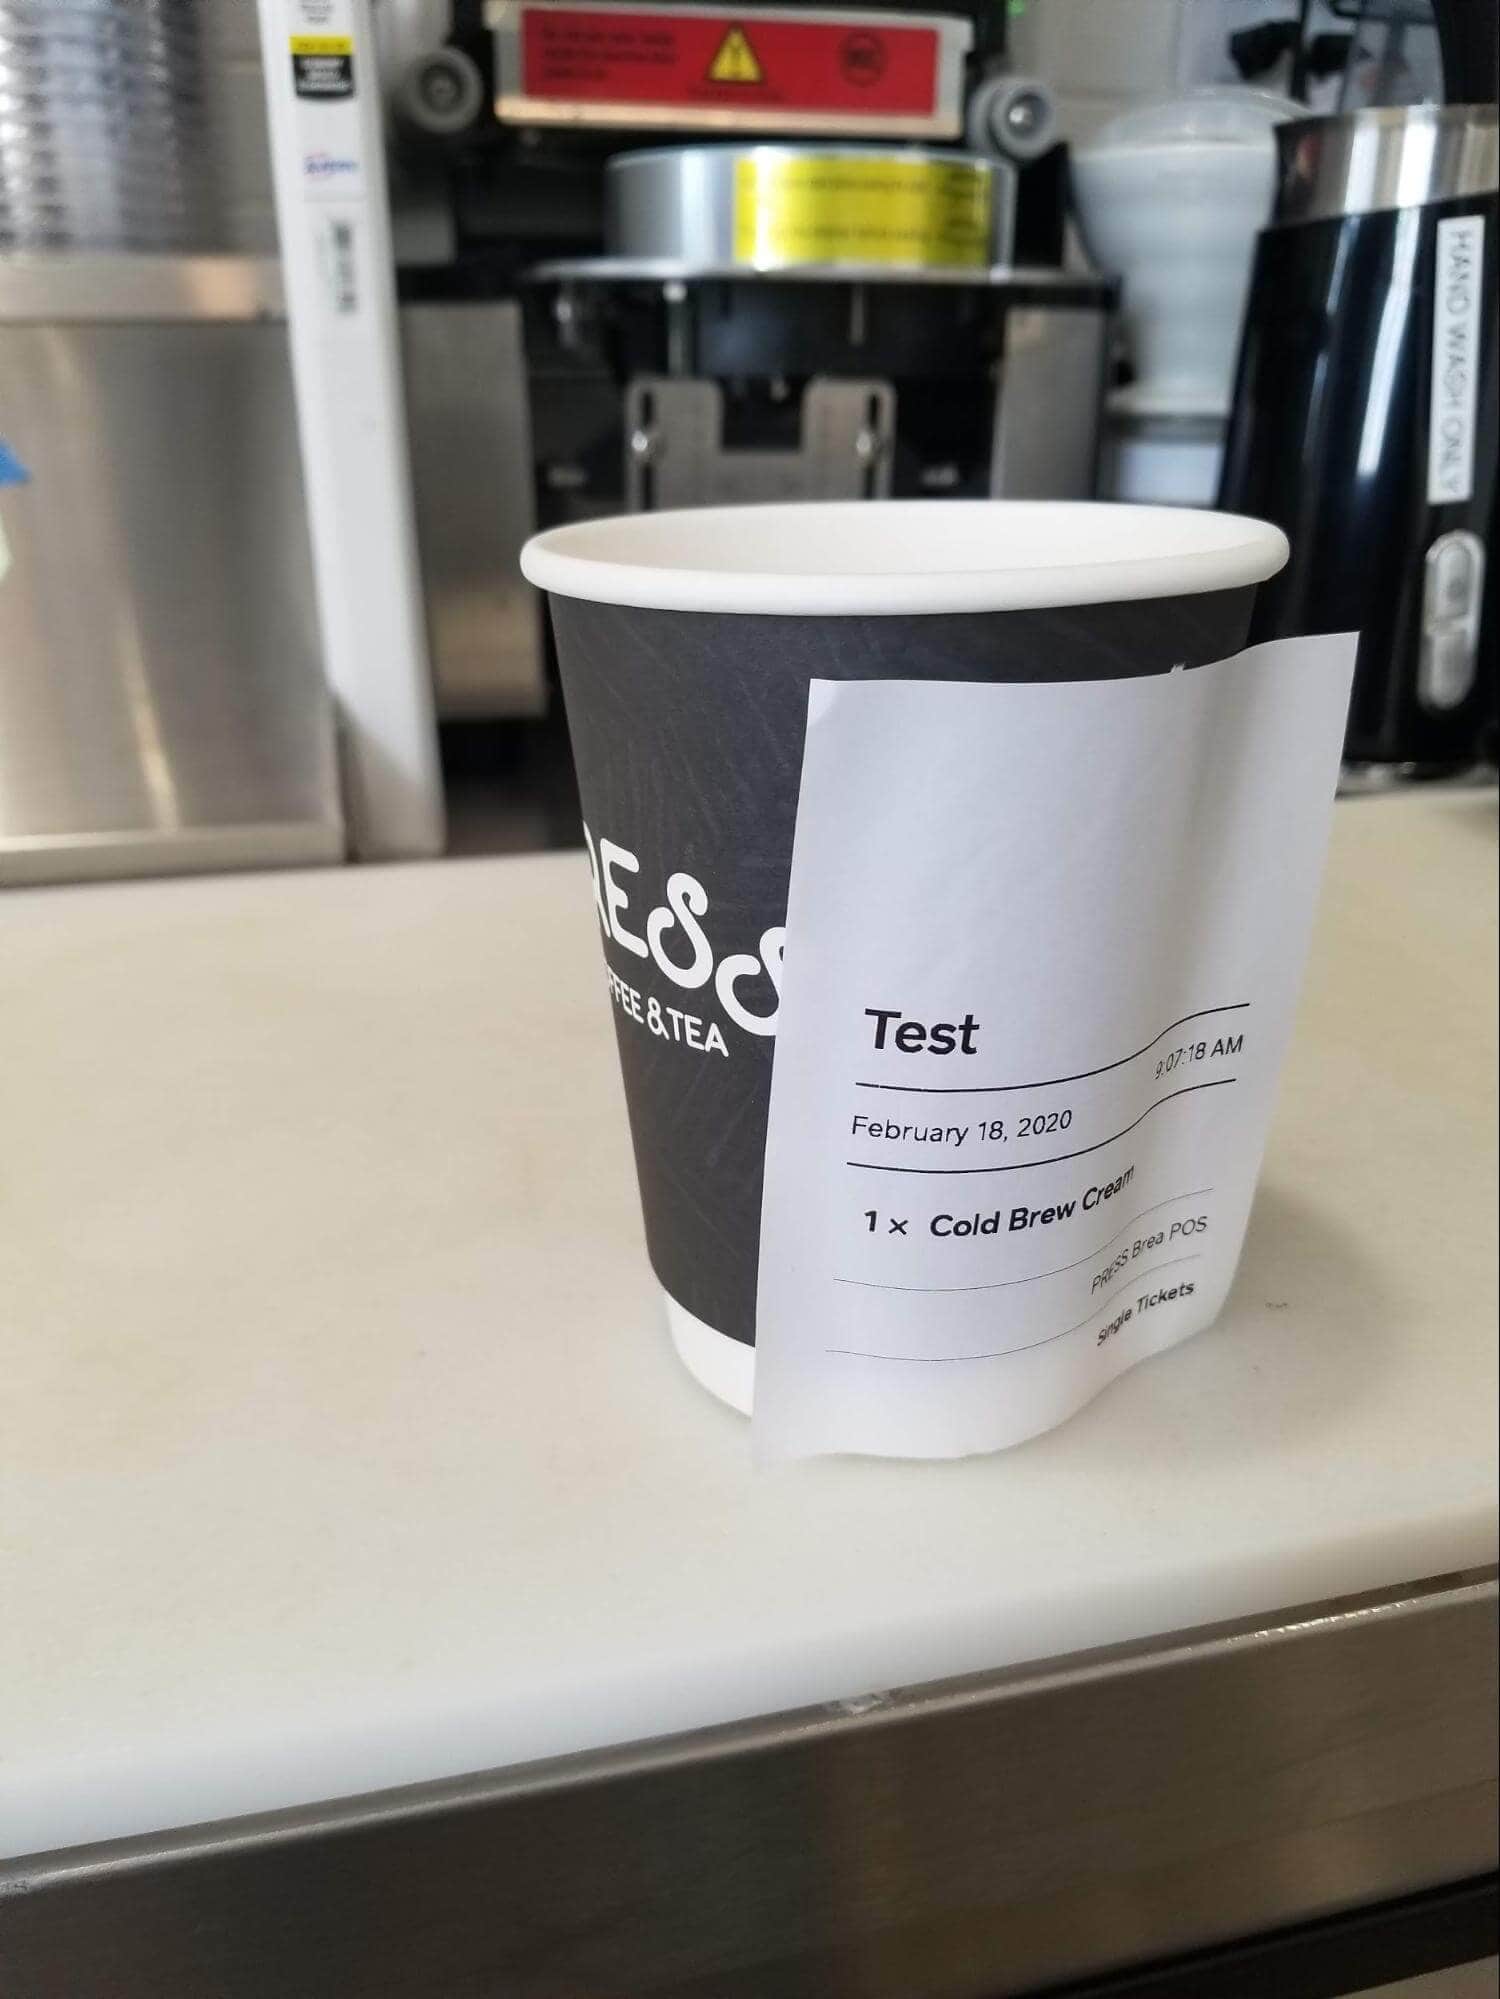
Label Printer is a printer that can print a sticky label allowing you to put a label on an item before giving it to a customer. The label will include the Order number, item number, customer name, and the item name with any modifiers that have been selected. This is most commonly used for drinks like coffee or boba tea that may have multiple modifiers on it. The printer required is the Epson TM-L90. While you still need to add the printer in the Printers app, this printer connects via USB to your Clover Station or Clover Mini hub. Clover Flex is not able to connect to the sticky label printer.
Learn more about the Clover Go, Clover Flex, Clover Station, and Clover Station Duo on our devices page. If you are interested in setting up Clover for your business, contact the Gravity sales team to get started.


